- October 31, 2018
- By Scott Olson
BLOG
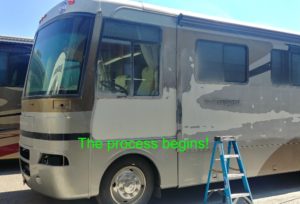
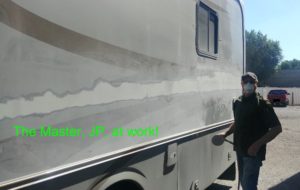
The Vacationer: Part 1!
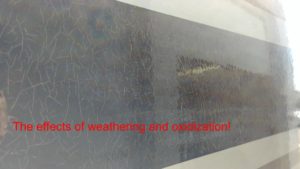
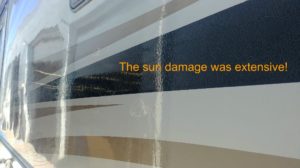
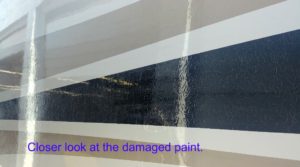
This RV was quite the fun project, so much so that we decided to break the process down into more than just one post because we took so many pictures of it! (No one enjoys overly-lengthy blog posts!) The previously applied paint had begun to succumb to weathering and oxidization, leaving lightning-like cracks in almost all of the surface paint. The multiple tones and designs along the sides presented our paint technician with an interesting challenge, as well. The paint first had to be sanded down to remove the cracks, ensuring a smooth surface, and then the entire motorhome had to then be covered with a primer.
After initial sanding and primer, it was then sanded down again so that the new coat would adhere to the surfaces. We also wanted to make sure that the new paint being applied wouldn’t peel or bubble and that there was a smooth finished surface. You’ve heard us talk about paying attention to detail before, and on this job especially, we had to take care not to miss anything. Especially on shiny surfaces this large, any pinprick of a blemish will stick out like a sore thumb!
Technique is a huge factor in these first crucial steps because once sanded completely flat, the primer will help expose any spots that might need additional attention in order to get a smooth and flawless surface and end product. Any remaining blemishes after the primer was sanded we were then able to locate and eliminate. The next steps involved going over the entire rig again and again with less and less coarse sandpaper, leaving us with a surface that is perfect and ready for color!
Stay tuned for the end result next week! You won’t believe the difference!
Had an enjoyable recent experience with us? Please feel free to give us a review!
LATEST POSTS
- Holding Higher Standards
- April 10, 2021
- 2016 Toyota Corolla
- February 25, 2020
- 2015 Subaru Outback
- February 15, 2020